Did you know that Playback has the power to separate the tracks into 10 separate outputs? Your sound engineer will love the mixing freedom over each instrument group, and your team will love sounding better. Here are the 3 pieces of hardware every MultiOuts setup needs!
Start sending multiple outputs from Playback with 3 things:
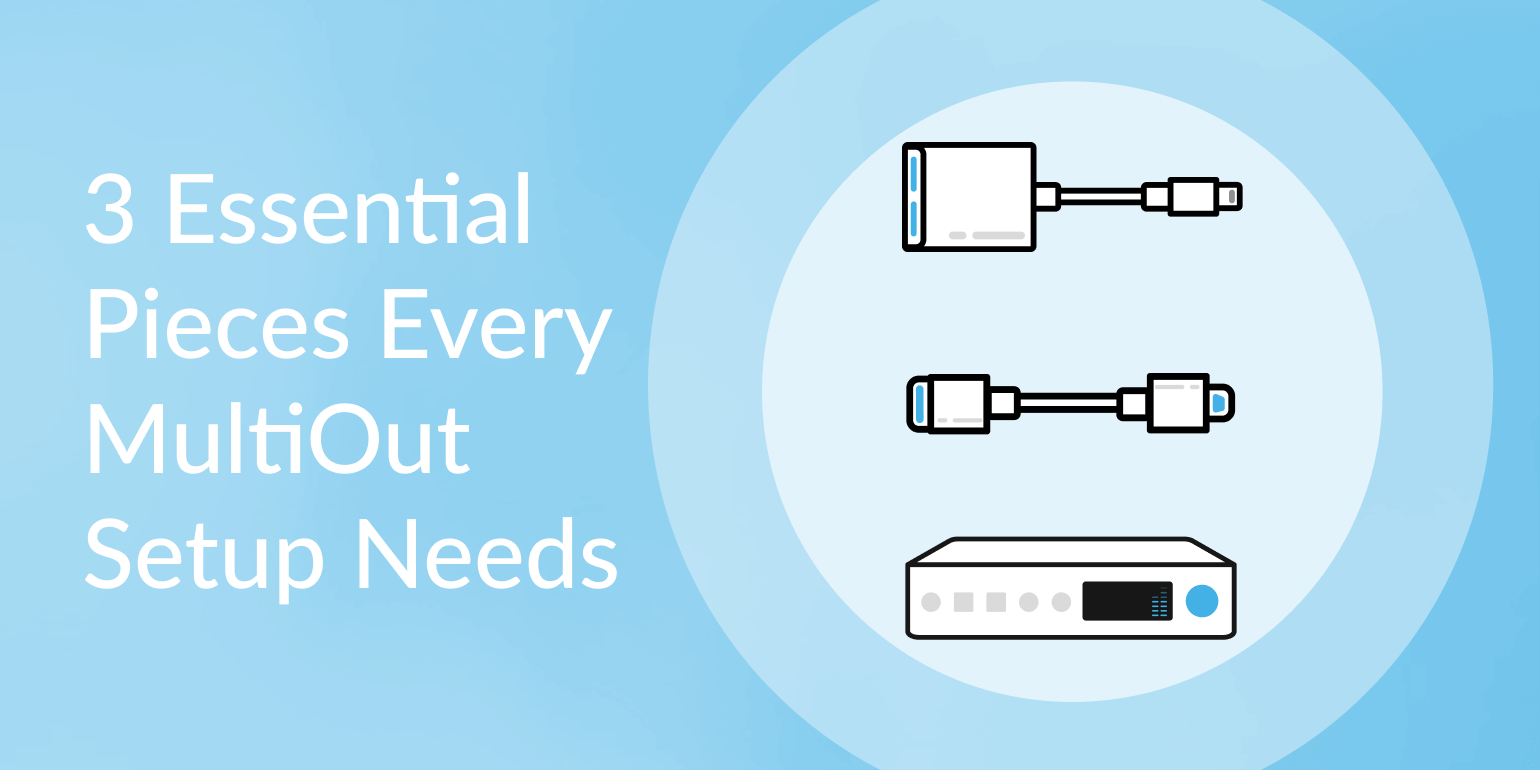
1. Apple USB Camera Adapter
Connect your iOS device to any approved audio interface using the official Apple USB Camera Adapter. Simultaneously charge your iOS device with the built-in lightning port.
For USB-C iOS devices, check out the Apple Digital AV Multiport Adapter.
2. USB Bus Cable
A reliable USB Bus Cable is the glue between your iOS device and audio interface. We recommend using the USB cables included with most audio interfaces, or purchasing a reliable USB cable no longer than 15 feet.
3. Audio Interface
An audio interface receives the outputs from Playback and converts them to analog audio outputs that can be sent directly to your sound system. Choose an audio interface that fits your worship team's needs from our Supported Devices page.
Our Top Recommendation: The iConnectivity PlayAudio 12
The PlayAudio 12 unlocks the full power and capability of Playback. Functioning as both an audio and MIDI interface, the PA12 becomes the hub for every connection needed to use Playback's audio and MIDI features.
- Send Playback's maximum 10 outputs using the PA12's 1/4" outputs
- Connect your MIDI controller to USB host port for directly MIDI control of Playback
- Use Playback to control your live production by sending MIDI Cues out of the ethernet MIDI port
Watch how to use the PlayAudio 12 with Playback.
Helpful Links:
|